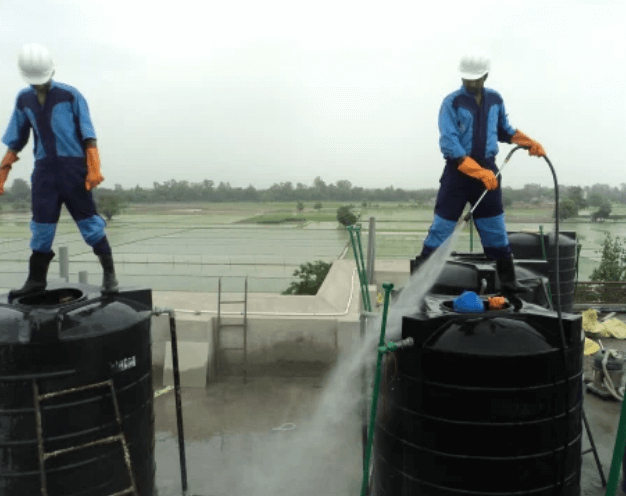
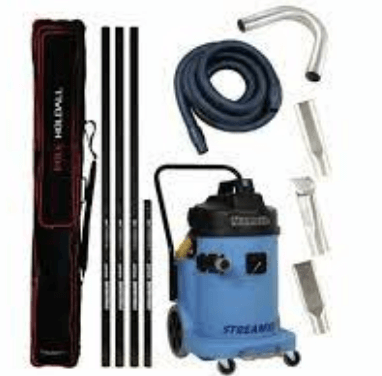
Welcome to our blog, where we dive into the world of clean water! Today, we’re going to tackle a subject that often goes unnoticed but is crucial for maintaining a healthy indoor environment – cleaning your indoor tank. Whether you have a fish tank or a water storage tank, regular maintenance is key to ensure the water remains fresh and free from any harmful substances. In this article, we’ll explore three effective ways to clean your indoor tank and share some additional tips and tricks along the way. So let’s get started and discover how you can keep your tanks sparkling clean with these simple yet essential techniques!
Regular Maintenance
Regular maintenance is the foundation for a clean and healthy indoor tank. By establishing a routine, you can prevent buildup of algae, bacteria, and other contaminants that can harm your fish or compromise the quality of your stored water.
Start by inspecting your tank on a regular basis. Look for any signs of discoloration, cloudiness, or unusual odors. These could be indicators of water contamination or an issue with the filtration system.
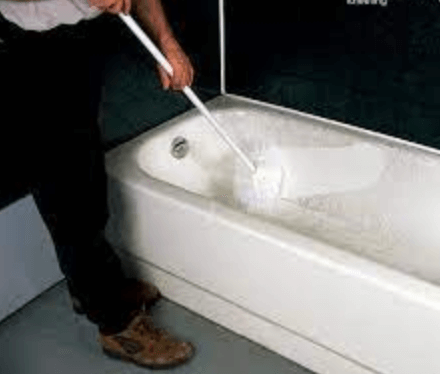
Next, make it a habit to clean the sides and bottom of your tank regularly. Use a soft sponge or brush specifically designed for aquariums to gently scrub away any algae or debris that may have accumulated. Avoid using harsh chemicals as they can be harmful to fish and other aquatic life.
Another important aspect of regular maintenance is monitoring water parameters such as pH levels, ammonia levels, and temperature. Invest in a reliable testing kit to ensure these parameters are within safe ranges for your specific tank setup.
Don’t forget to perform partial water changes regularly. This helps dilute any excess nutrients in the water and removes waste products that could lead to poor water quality.
By following these simple steps as part of your regular maintenance routine, you’ll keep your indoor tanks in optimal condition – providing clean and healthy environments for both fish enthusiasts and those relying on stored water alike!
Changing Your Filter
Changing Your Filter
One of the most important aspects of maintaining a clean and healthy indoor tank is regularly changing your filter. Over time, filters can become clogged with debris and contaminants, which can negatively impact the water quality in your tank. By replacing your filter on a regular basis, you ensure that it continues to effectively remove impurities from the water.
When it comes to selecting a replacement filter, make sure to choose one that is compatible with your specific tank model. There are different types of filters available, including mechanical and chemical filters. Mechanical filters work by physically trapping particles in the water, while chemical filters use activated carbon or other substances to absorb impurities.
To change your filter, begin by turning off any equipment connected to the tank and unplugging it from power sources. Open up the access panel or lid where the filter is located. Remove the old filter cartridge carefully, making note of its orientation if necessary for proper installation of the new one.
Next, take out your new filter cartridge and insert it into its designated slot according to manufacturer instructions. Ensure that it fits securely in place without any gaps or leaks. Close up the access panel or lid and reconnect any equipment that was disconnected earlier.
Bleaching Your Tank
Bleaching Your Tank
One effective way to clean your indoor tank is by using bleach. Bleach is a powerful disinfectant that can kill bacteria, viruses, and other harmful microorganisms present in the water. Here are some steps you can follow to bleach your tank properly.
Make sure to turn off any electrical supply connected to your tank. Safety should always be a priority when working with chemicals like bleach.
Next, drain out all the water from the tank completely. You can do this by connecting a hose to the drain valve or using a pump if necessary.
Once the tank is empty, prepare a solution of bleach and water in a ratio of 1:10. For example, if you have 5 gallons of water in your tank, mix it with half a gallon (or approximately 64 ounces) of bleach.
Using gloves and protective eyewear, carefully pour the bleach solution into the tank through an opening or access point. Make sure that every part of the tank’s interior surface gets coated with the solution.
Let the bleach solution sit inside the tank for at least one hour or as recommended on the product label. This will allow enough time for it to kill any remaining bacteria or contaminants lurking inside.
Other Tips and Tricks
Other Tips and Tricks
1. Use natural cleaning agents: Instead of relying on harsh chemicals, consider using natural alternatives to clean your water tank. Lemon juice, vinegar, or baking soda mixed with water can be effective in removing dirt and stains without leaving behind any harmful residue.
2. Install a UV sterilizer: A UV sterilizer is an excellent investment for maintaining the cleanliness of your indoor tank. These devices use ultraviolet light to kill bacteria, viruses, and algae that may be present in the water. This not only helps keep the tank clean but also ensures that the water remains safe for both you and your fish.
3. Avoid overfeeding: Overfeeding is one of the most common causes of poor water quality in indoor tanks. Excess food not consumed by fish sinks to the bottom of the tank where it breaks down and leads to an increase in ammonia levels. To prevent this issue, feed your fish small amounts at regular intervals rather than dumping large quantities all at once.


